
7 June 2021
Making #SciAnimations Using PowerPoint
Posted by Shane Hanlon
By Irene Crisologo. You can find the original post here.
If you find yourself needing to show some movement or change when describing your science, and you usually do this by drawing arrows, consider using making a short animation.
Animations are made of frames—a sequence of images that show incremental changes. Have a look at the example below:

The animated GIF above is made up of 4 frames: 1) one with no cloud, 2) one with a small cloud, 3) one with a medium cloud, and 4) one with a large cloud.
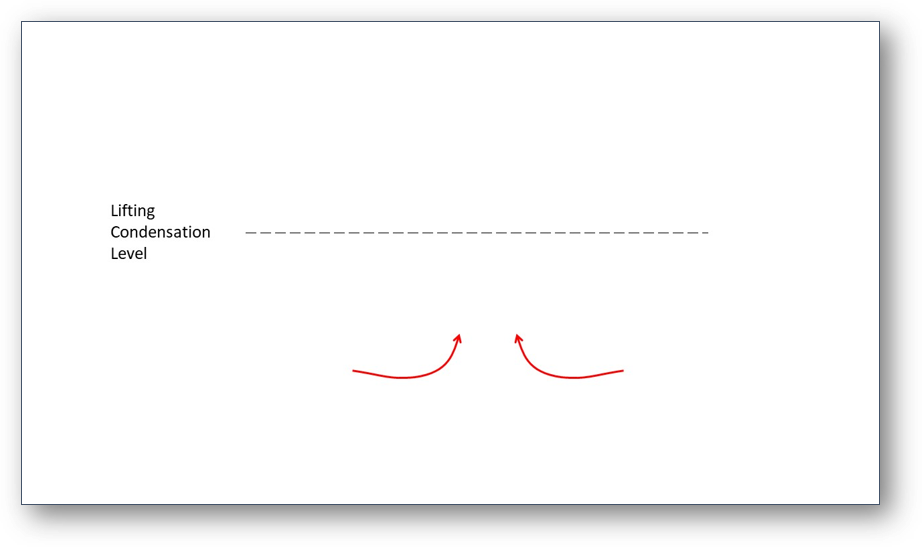


In Powerpoint, you can use the slides as frames. By drawing on each slide as if it were a frame, you can see how your animation will go by advancing the slides.
If you have a series of images that also show movement, you can paste them in the slides and create an animation from it too!
Once you have your frames as sequence of slides, you are ready to export it as an animated GIF. To do this, click on File > Export > Create an Animated GIF. From the settings you can adjust Seconds to spend on each slide . More seconds on each slide means that the animation will go slower. You can also type in a number instead of using the arrow buttons if you want slide durations to be less than a second. You can also select which slides you want to convert to GIF, if you don’t want to convert all the slides you have. Complete the step by clicking on Create GIF.

That’s it! You now have your own animated GIF!
-Irene Crisologo is an AGU Voices for Science Advocate. Fine her on Twitter @IreneCrisologo.


 The Plainspoken Scientist is the science communication blog of AGU’s Sharing Science program. With this blog, we wish to showcase creative and effective science communication via multiple mediums and modes.