
6 December 2010
Gerede segment of the North Anatolian Fault
Posted by Callan Bentley
I’m very close to sharing the full complement of the photos I took on my October visit to Turkey for the Tectonic Crossroads conference. Today, I’d like to show you some photos that I took on a mid-conference field trip to the North Anatolian Fault Zone. We were specifically visiting the Gerede segment, named for a town which lies astride the fault. The Gerede segment ruptured in 1944, and the point of this trip was to trace out the surface rupture of that 7.2 magnitude quake.
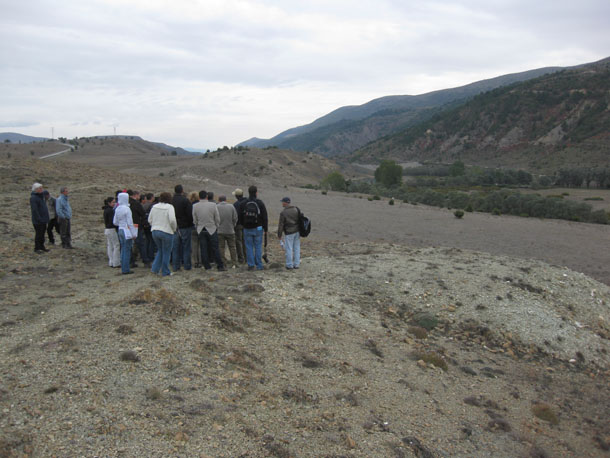
Here’s the group at our first official stop (after our unofficial look at the Güvem basalt columns), overlooking a valley incised along the North Anatolian Fault:
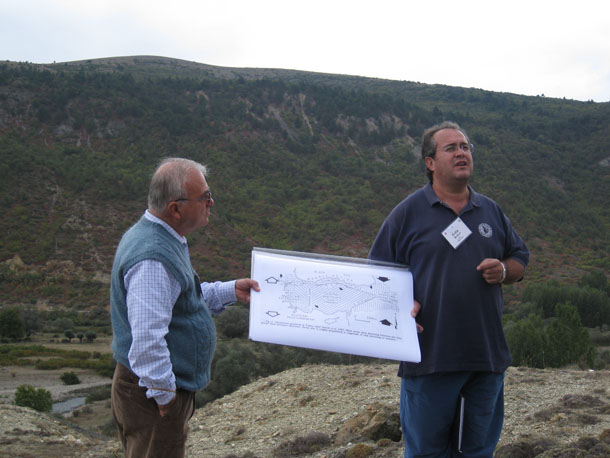
Our trip leaders: Fuat Şaroğlu (of the Chamber of Geological Engineers of Turkey) and Erdin Bozkurt (of METU) discussing Turkish tectonics:
Here’s a map from the conference’s “about” page, detailing the complicated tectonics of the eastern Mediterranean and middle east.

Anatolia (Asian Turkey) is a big splootch of crust shimmying to the west, diverting towards lower-stress areas far from the higher-stress area of the Arabian-Eurasian collision. Along with southeast Asia, this is a classic example of “escape” tectonics. In short, Turkey is squishing out of the way of Arabia as it plows into Iran. As the block moves, it generates earthquakes. Two of the biggest active fault zones in Turkey are the East Anatolian Fault (EAF on map above), which bounds southeastern Anatolia, and the North Anatolian Fault (NAF on map above), which strikes east-west across northern Anatolia.
This seismic hazard map from the USGS shows two prominent stripes of high risk — one on the East Anatolian Fault, and one on the North Anatolian Fault:

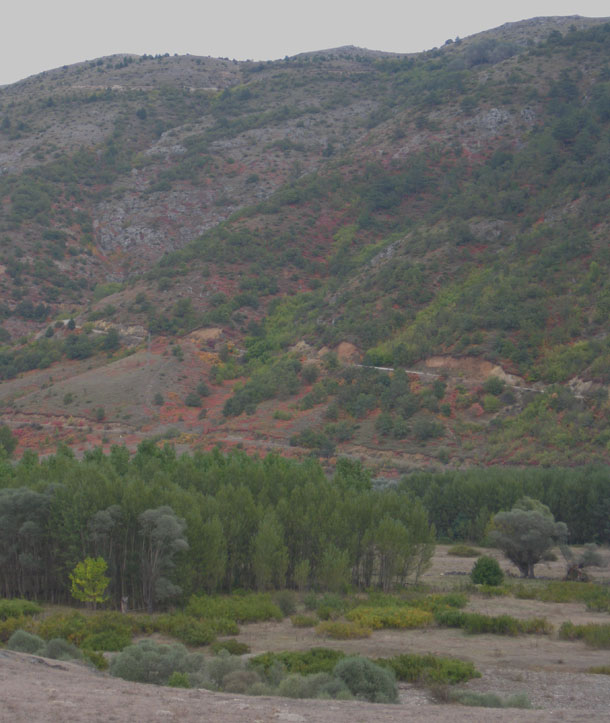
So when you look (south) across this first valley, at the far side, adorned with the crimson colors of fall foliage, realize that you’re looking across a major tectonic break in the crust:
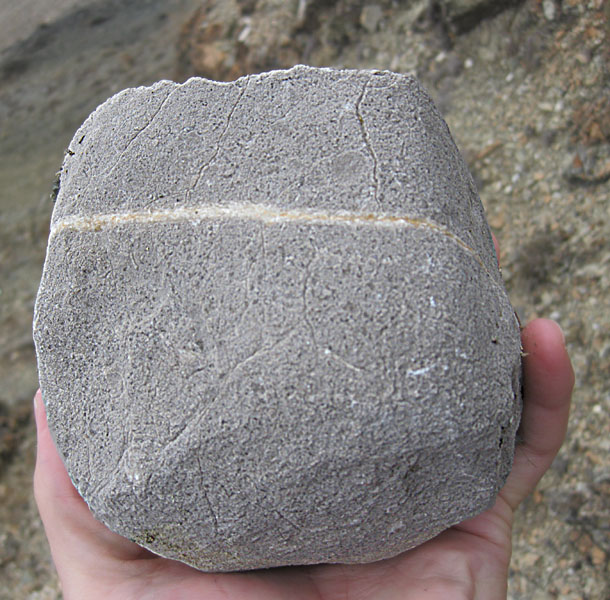
The right-lateral strike-slip North Anatolian Fault follows a pre-existing structural discontinuity in the crust: the suture zone that closed the Neotethys Ocean. This collision zone that put the Sakarya “ribbon continent” (Jurassic to Cretaceous limestones and some intercalated lavas) up against the Pontides (Jurassic to Eocene rocks of different affinitites). When the tectonic situation shifted from convergent to transform, the rocks naturally broke along this planar discontinuity, and began sliding.
Here’s a chunk of the limestone from the south side of the fault:
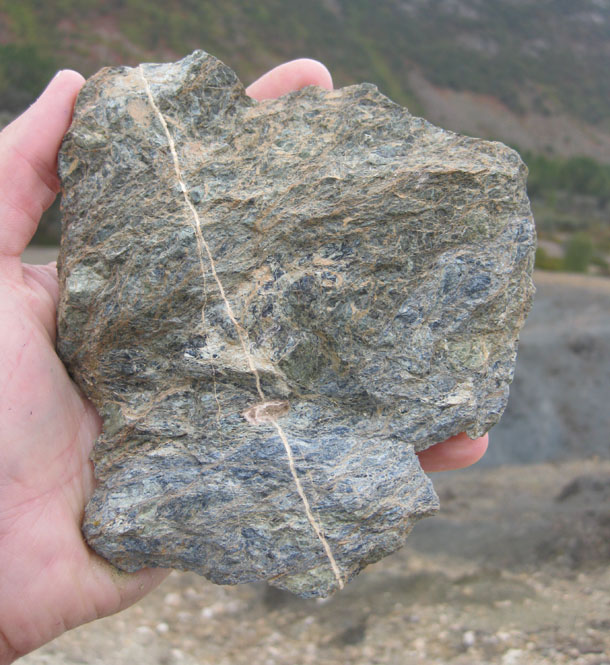
…And here’s a chunk of serpentinite from the north side of the fault:
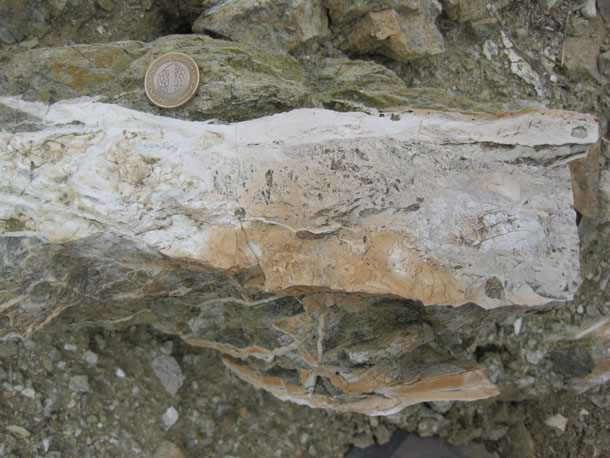
Using a Turkish 1-lira coin (about the same size as a U.S. quarter) for scale, here’s an outcrop of serpentinite, with a nice vein showing fault breccia:
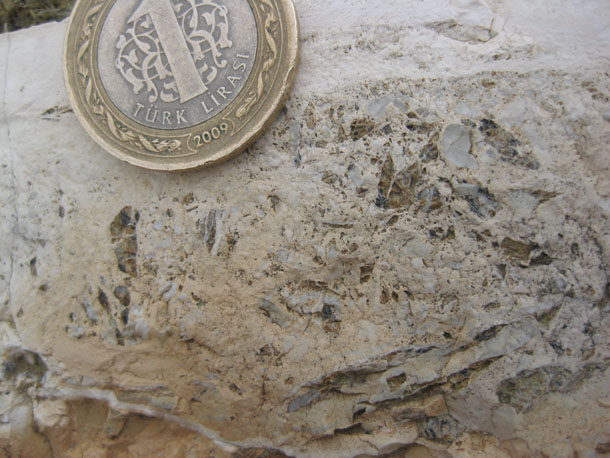
Closer up… Check out those little shards of serpentinite in there:
This chunk has a bluish streak running through it:
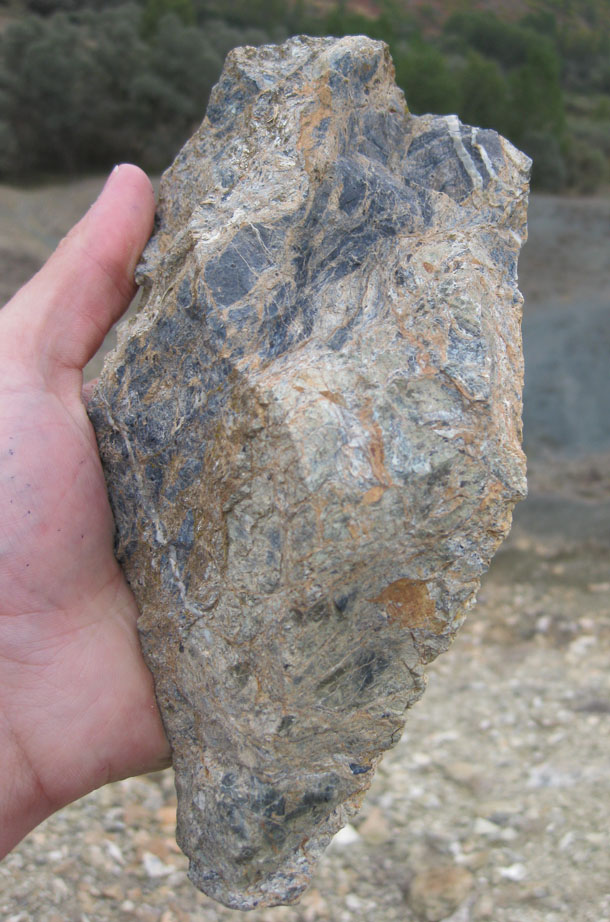
Naturally, given my recent experience with the Tavşanlı Zone, I presumed this would be blueschist too, but Erdin told me it wasn’t. So it’s not.
Damn… sure does look blue, though. Oh well.
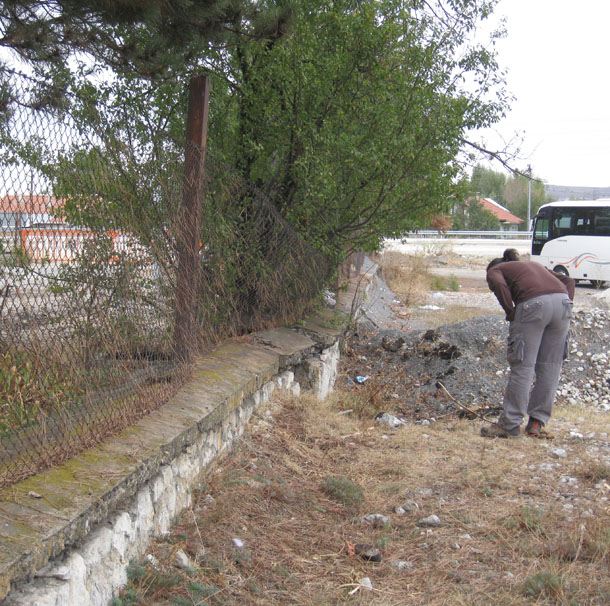
Our next stop was a concrete wall, pre-1944, which had been offset during the 1944 earthquake and offset half a meter or so to the right:
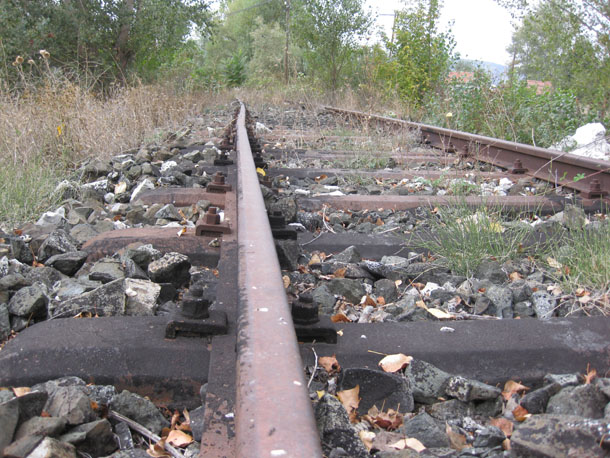
Nearby were some old, abandoned railroad tracks, and you could see the right-lateral displacement imprinted on them, too:
I then walked over to some newer (post-1944), active railroad tracks, and took this photo:
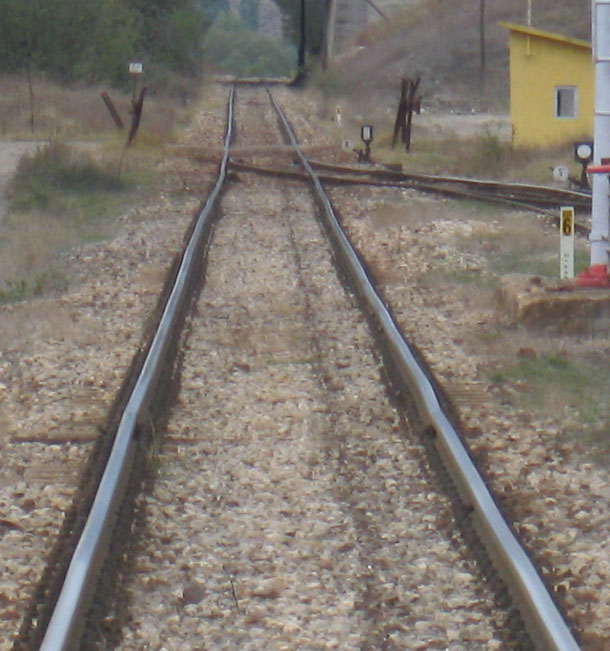
Is it just me, or do they seem to show some dextral offset too?
Next up, a sag pond:
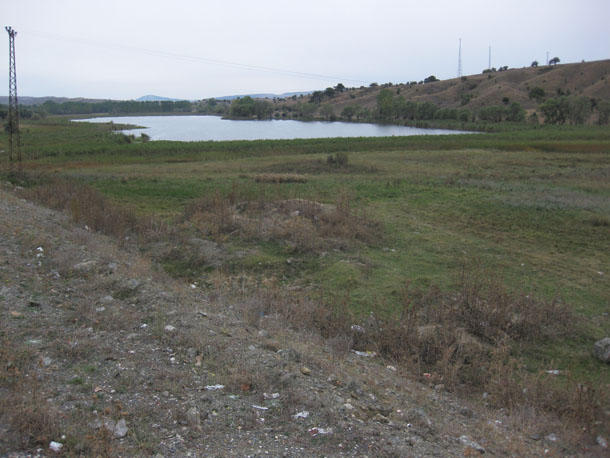
Sag ponds are depressions that result from a step-over to the right between two strands of a right-lateral fault (or a step-over to the left between two strands of a left-lateral fault).
If, on the other hand, you have two strands of a right-lateral fault where the step-over occurs to the left, then you get a pressure ridge. Consider this hypothetical diagram of three segments of a right-lateral fault system:
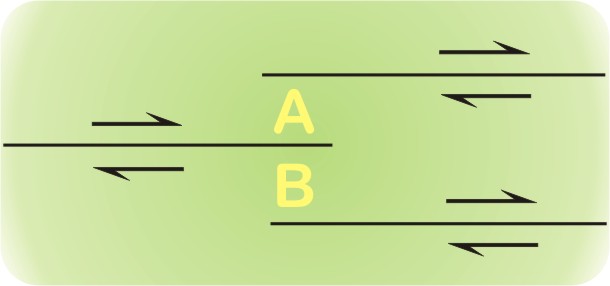
Imagine the conditions that are occurring at location “A” and compare them to the situation at location “B.”
At “A,” the strand at the top of the diagram is moving rock towards the center of the diagram, and so is the strand in the middle left of the diagram (red arrows). Shoving rock into the same place from two different directions? Where is it to go? The place offering the least resistance is “up” — so you get a pressure ridge.

On the other hand, if the two adjacent strands are pulling apart one a zone of rock (extending it), then a sag develops — a low-lying basin which water will pool in, provided the bottom of the sag is of lower elevation than the water table. Thus you get (white arrows) a sag pond.
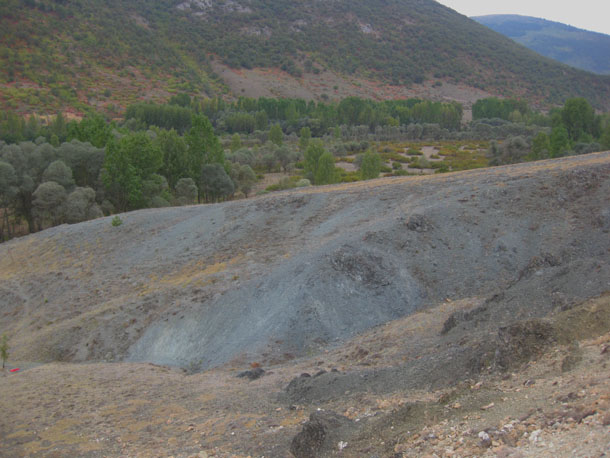
We stopped to see a pressure ridge, too, and apparently that’s what the hill in the middle distance of this photo is:
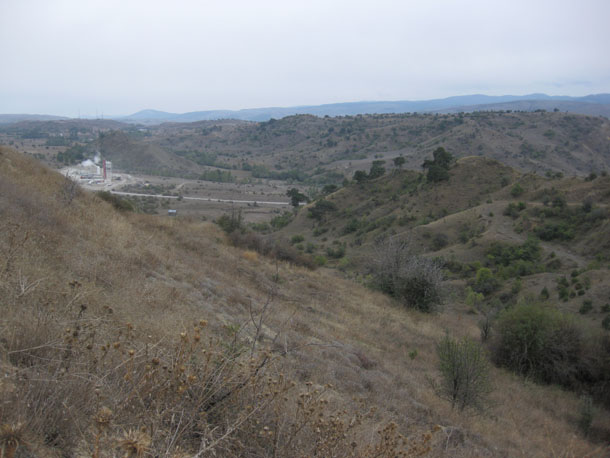
Personally, I found this to be “less than textbook” in terms of its level of obviousness, but that’s cool. I accept that workers with more seismic geomorphological expertise than me have mapped this out as a pressure ridge, and I take their word for it. At any rate, the fault runs down the valley from the cement factory at center left in the above image down to the lower right of the photographer’s perspective. Then if the photographer swivels to the right, the valley continues up to a notch in the adjacent ridge (where the road runs through):
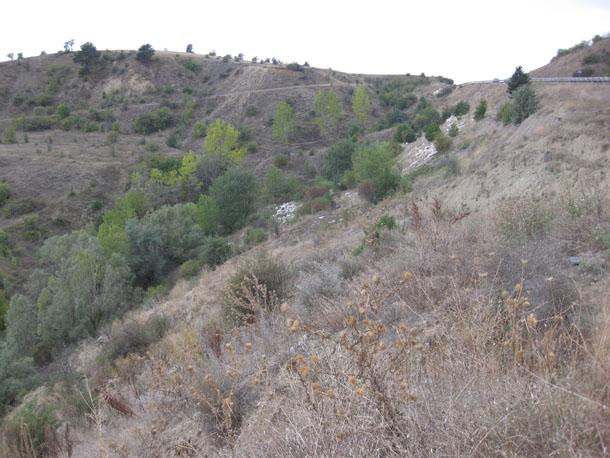
This valley is the surface trace of the 1944 rupture of the North Anatolian Fault.
Then we came to Gerede, the eponymous town for which this section of the fault is named. Here’s a view to the south over Gerede:
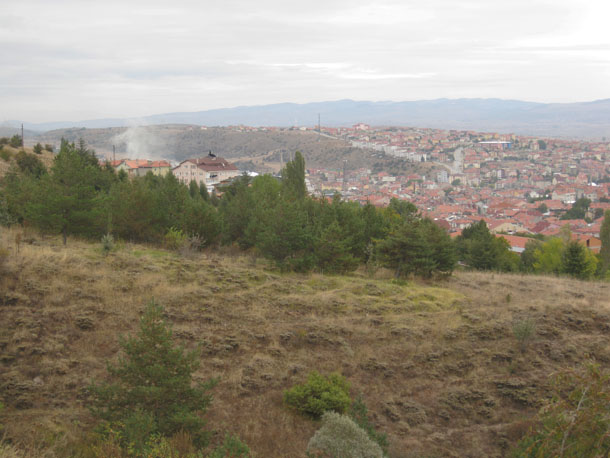
See the hill in the middle distance? Pressure ridge!
See the valley between that hill and the hill the photographer is standing on? Fault trace!
See the red tile roofs? That’s Gerede…
It. Is. Built. Right. On. Top. Of. The. Fault!
Compare that photo to this one, and you can get a sense of how the expansion of the town of Gerede in recent years (it was destroyed in 1944, of course) is unconstrained by earthquake hazard analysis. At some point, this section of the North Anatolian Fault is likely to slip again, and when it does, many people in Gerede will be killed.
 Callan Bentley is Associate Professor of Geology at Piedmont Virginia Community College in Charlottesville, Virginia. He is a Fellow of the Geological Society of America. For his work on this blog, the National Association of Geoscience Teachers recognized him with the James Shea Award. He has also won the Outstanding Faculty Award from the State Council on Higher Education in Virginia, and the Biggs Award for Excellence in Geoscience Teaching from the Geoscience Education Division of the Geological Society of America. In previous years, Callan served as a contributing editor at EARTH magazine, President of the Geological Society of Washington and President the Geo2YC division of NAGT.
[…] This post was mentioned on Twitter by Am Geophysical Union, Callan Bentley. Callan Bentley said: New from the hardworking staffers at Mountain Beltway: the Gerede segment of the N. Anatolian Fault http://bit.ly/hMmXzT […]
[…] is a photo from near Gerede, published on https://blogs.agu.org/mountainbeltway/2010/12/06/gerede/ The fault runs from the cement factory towards the lower right of the photo. It seems a fairly […]